In stressful times, connecting with nature is important for staying healthy. While many of us are stuck at home for the next month, it may feel like connecting with nature and being active is not an option. But that’s not entirely true. You can still have a positive impact on your environment, the planet, and your mental health, you just need to get a little crafty.
A great activity and project to meet all of those goals while making your home more ocean friendly is by building your own worm composting bin. Get your hands dirty, connect with nature, divert food waste, prevent greenhouse gas emissions and give your plants a boost. This is something may be able to do with materials already around your house (for the most part) and is fun for the whole family. Whether you have a yard, a porch, or just a window, you can turn your food waste into healthy soil by making your own worm compost bin, otherwise known as practicing “vermiculture.”
The Benefits of Composting
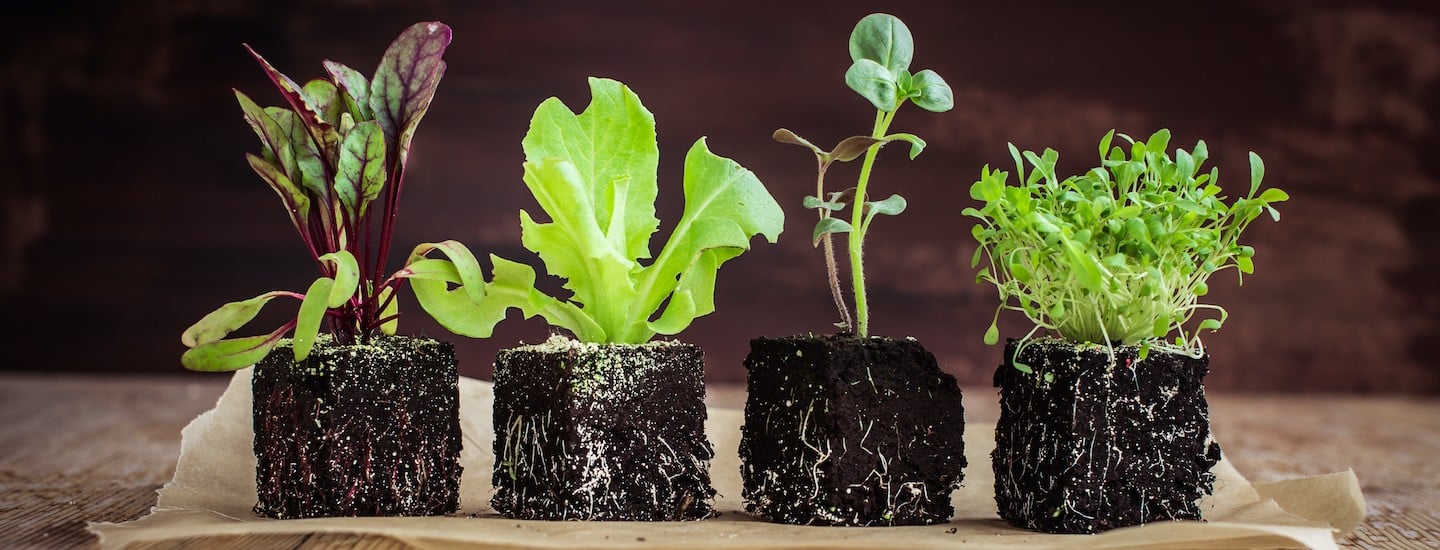
Compost helps kickstart the transition from dirt to healthy soil, providing water, oxygen, nutrients and essential microbes. This natural source of healthy soil can feed your plants without the need for chemical fertilizers, which pollute our local waterways, kill important soil biology and release greenhouse gas emissions. Composting also helps divert food waste that otherwise would go to the landfill and emit methane- one of the world’s most powerful greenhouse gas emissions that fuels climate change. Not to mention, composting helps us feel more connected to the earth, our plants, and the soil cycle.
Part 1. Step by Step Instructions for Building your own Worm Bin
Follow these simple steps to build your very own worm bin. Note that there are many ways to practice worm composting, but the following steps and practices have worked well for me and I imagine they will for you too.
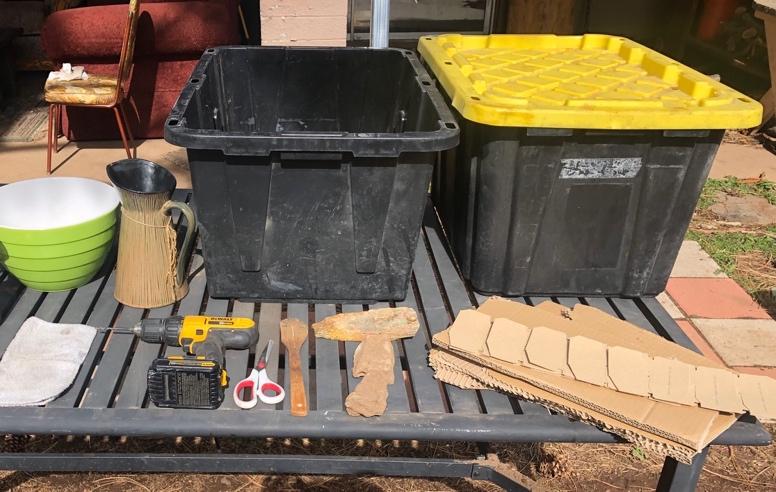
Step 1. Collect your Materials
-
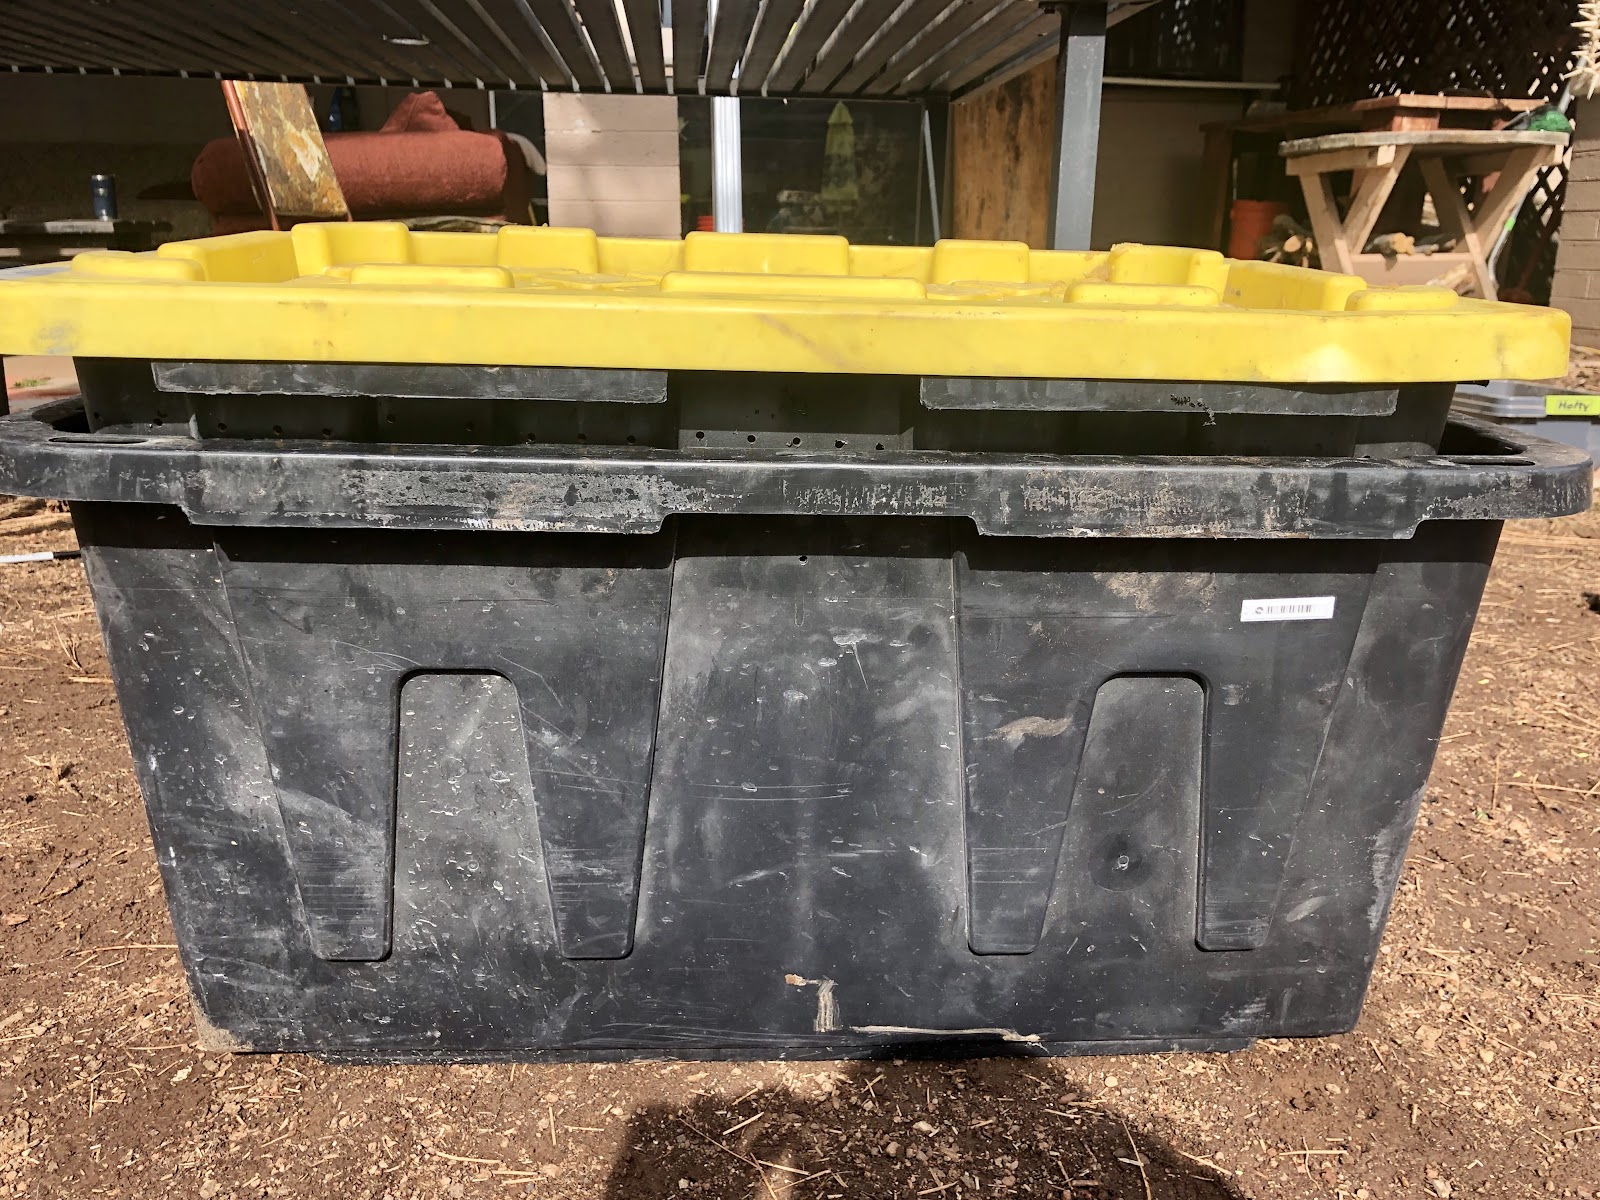
Two plastic bins, one lid: A good starter size is eight gallons, but anything you have should work. Just make sure that the bins can be nested (one bin fits inside the other). We used two old bins from the garage.
-
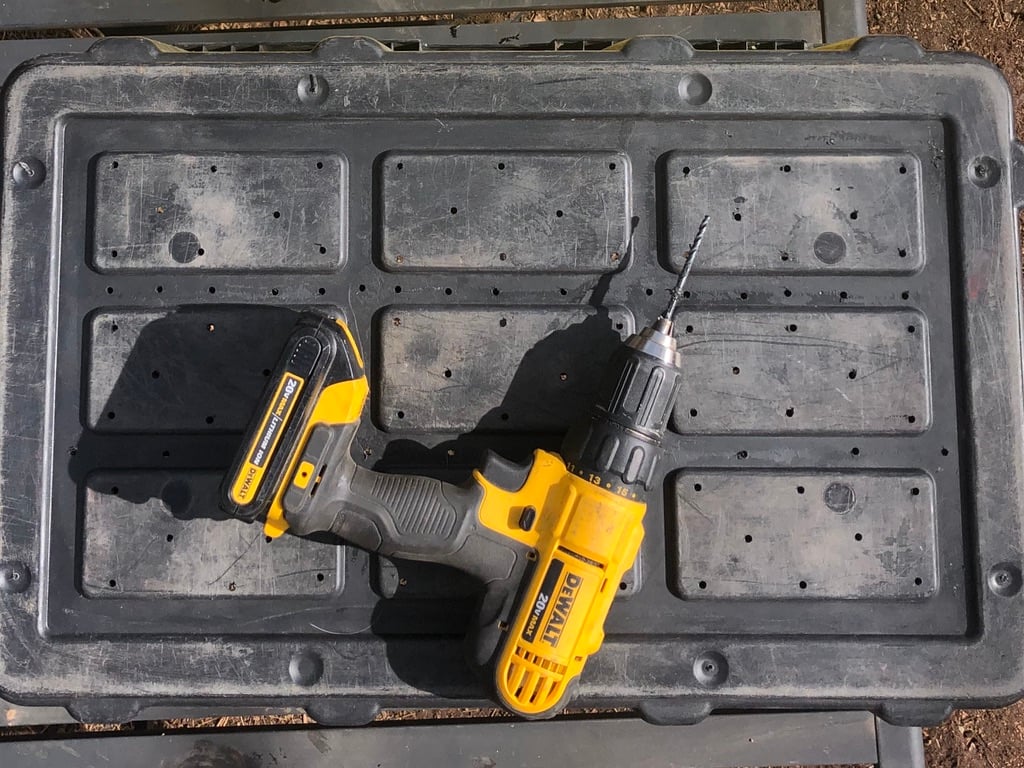
A drill and bit, ⅛-inch bit size works well. Else you can use a sharp knife.
-
Organic red wiggler worms (can order online and start with a population of 600)
-
Undyed, unwaxed paper to use as bedding, e.g. cardboard egg carton or brown paper bag
-
Scissors
-
Pitcher of water
-
Bowl
-
Several rocks (1.5 – 3 inches thick)
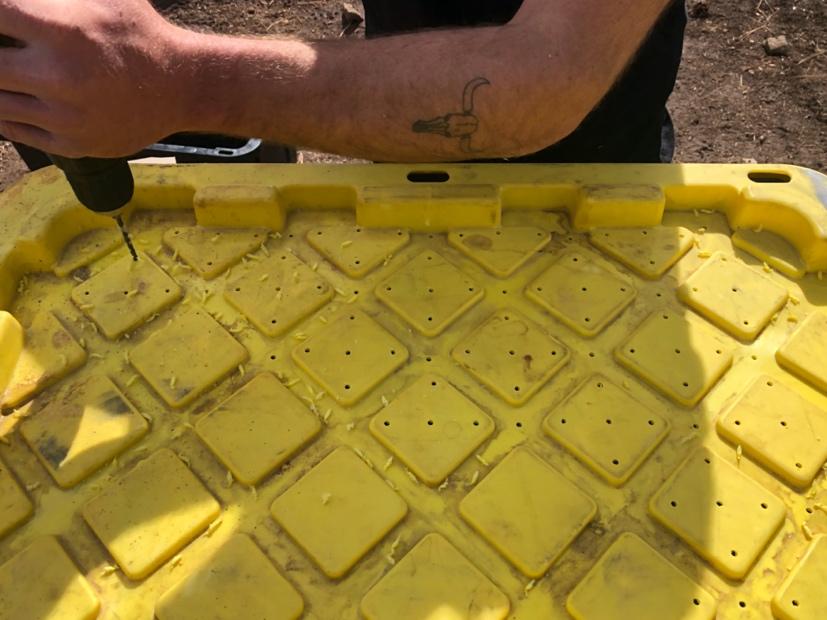
Step 2. Drill/Poke Holes in the Lid and One of the Bins
You want to make sure you have enough holes to get ample oxygen inside the bin, but you don’t want them to be too big that the worms can fit through (bit sized ⅛-inch works well). One hole every inch or two will work.
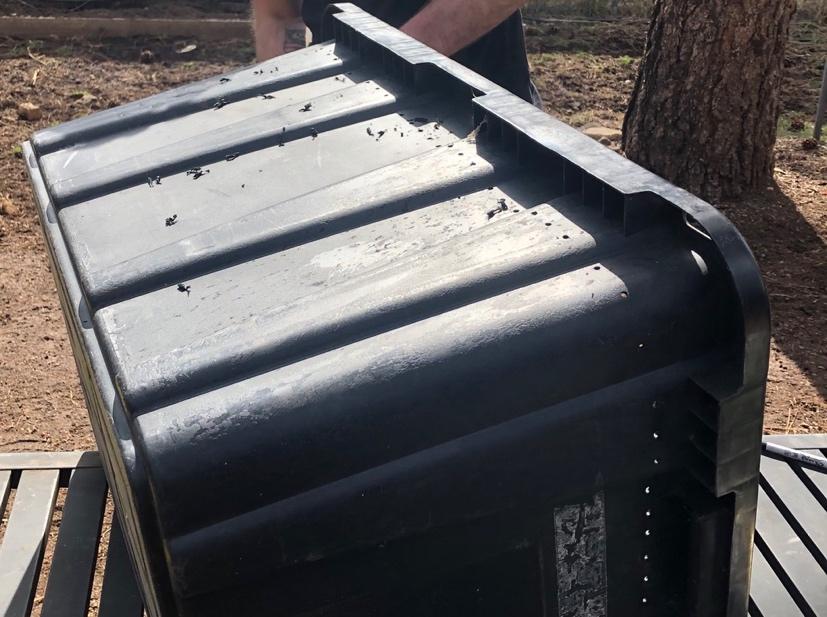
Drill holes in the (1) lid (feel free to get creative with designs), (2) around the sides of the bin about one inch from the top rim, and (3) every couple inches along the bottom for drainage.
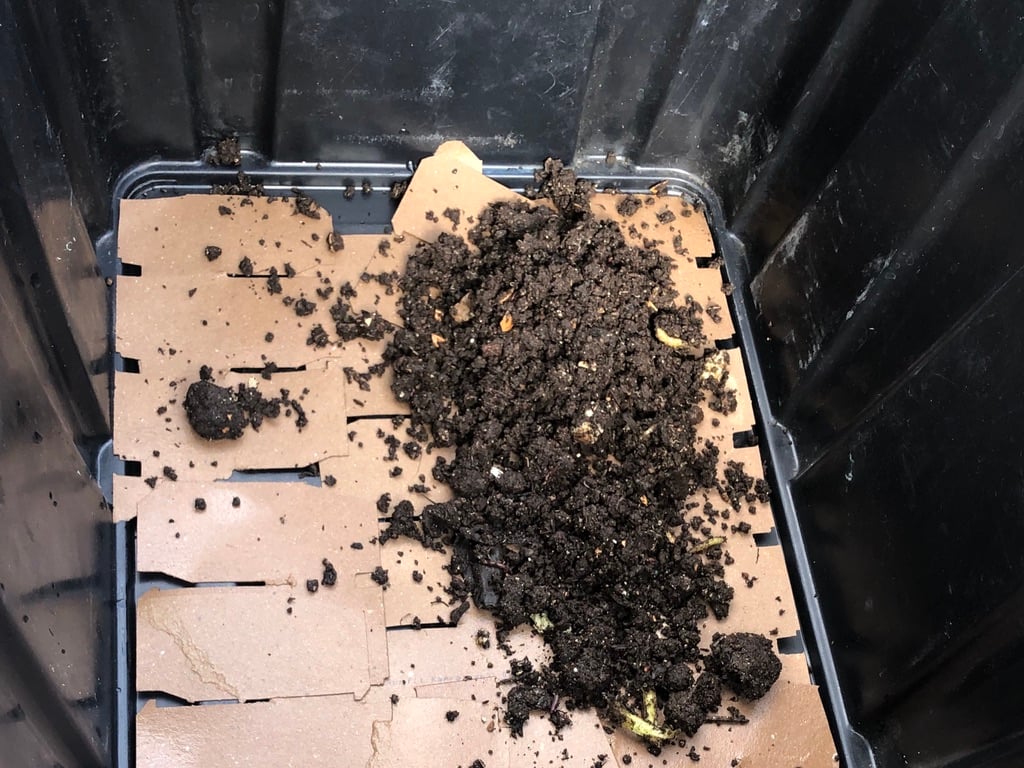
Step 3. Prepare the Worm Bedding
Once you discard the plastic shavings (an unfortunate result of drilling holes), prepare the worm bedding by wetting undyed cardboard or paper and laying it in a thin layer in the bottom of the bin. You may need to cut your cardboard or paper into strips. This should cover the newly made holes in the bottom.


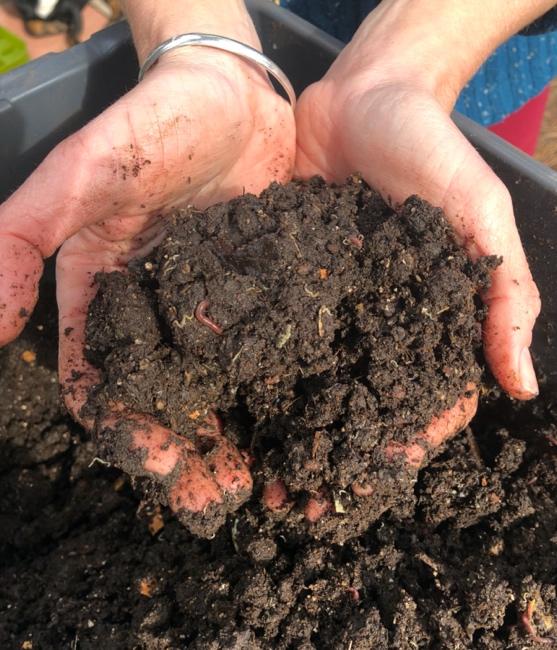
Step 4. Introduce your Worms to Their New Home
Time to get your hands dirty! Don’t be shy, red wigglers are harmless. Pending how they arrived, either empty the bag right into the bin, or gently scoop them on in, as well as the soil they arrived in. If you need to, you can add more soil so they have plenty to burrow in, but check the soil moisture. You want your worms to have moist, spongy soil — not wet or dry soil. To check the moisture level, take a pinch of the soil and roll it into a ball, if it stays together, you’re all set, if it’s a bit crumbly or dry, spray your worms with some water until you get the right moisture level. If it’s wet, just mix in some dry dirt/soil (no fertilizers please).
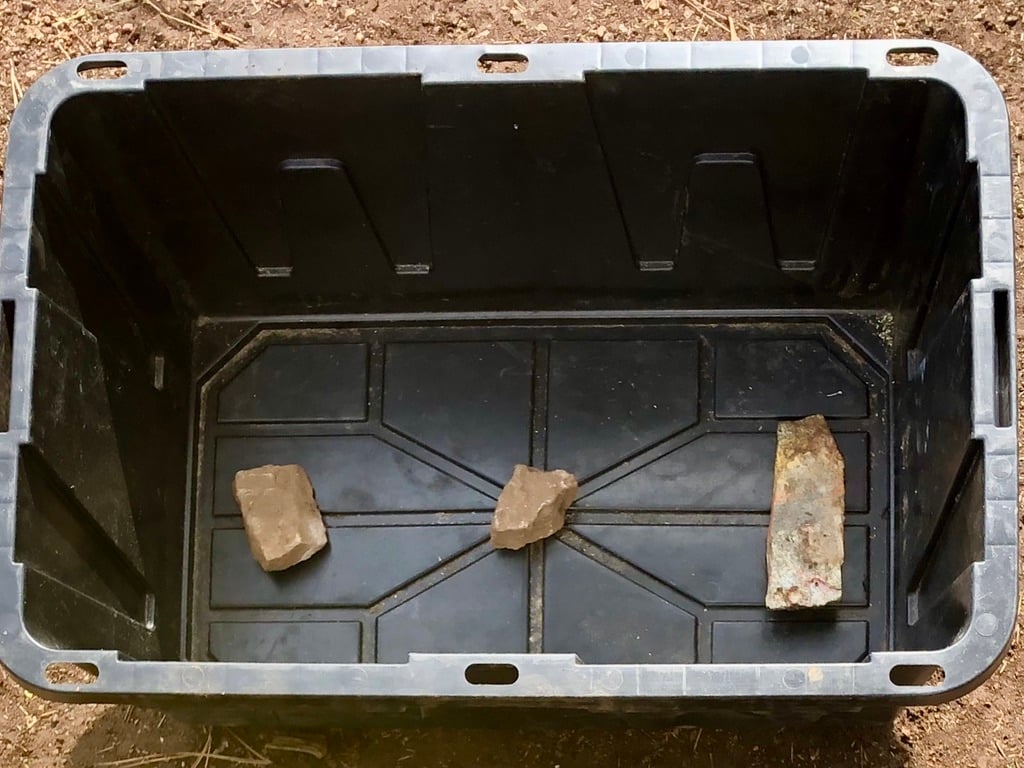
Step 5. Nest your Bins and Voila!
Place several rocks into the empty, intact bin and distribute them evenly across the bottom. Place the bin containing the worms (and holes) on the rocks inside the intact bin. The rocks should elevate the inside bin high enough, so that the holes along the side of the container are exposed. We want to ensure that our worms get plenty of oxygen! The bottom bin will collect that amazing worm tea over the next couple months, creating your own super powered plant food!
Part 2: Feeding and Maintaining Happy, Healthy Worms
Materials Recommended for Maintenance and Feeding
-
Bag of dirt (no fertilizers please)
-
Spray bottle filled with water
-
Water pitcher
-
Wooden spoon, although it’s best to just get your hands dirty
-
Discarded fruit/veggie container (a six to eight ounce container works great)
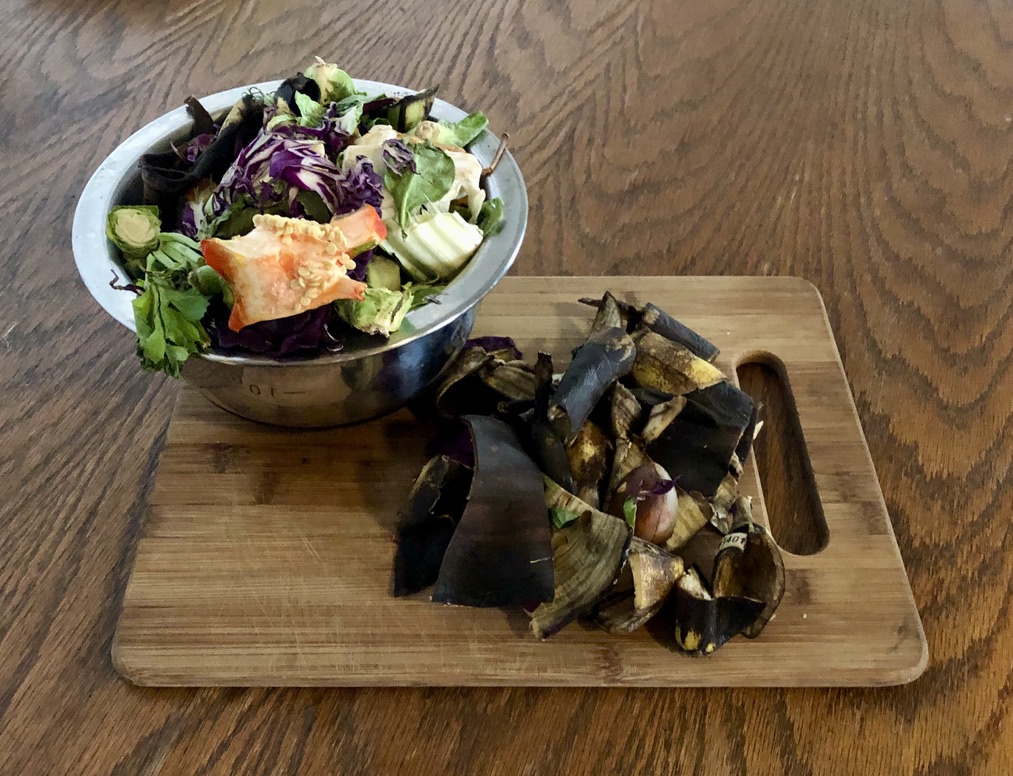
What to feed your worms: Mainly fruits and vegetables, but not citrus or onion.
You will mainly feed your worms fruit and vegetable scraps, but you can also add loose tea, undyed and unglossed paper products, old leaves, used coffee grounds and cleaned egg shells. If you add coffee, it’s good to also add some egg shells to balance the pH (the high acid coffee will be countered by the low acid egg shells). Do not feed them any meat, dairy, bones, fish, feces, or plastic based products like stickers. You also want to avoid vegetable oils, sauces and seasonings, so it’s best to feed your worms the parts of fresh fruit and produce that you discard during preparation. It’s easier for worms to eat smaller pieces of fruit and vegetables so try to chop them into 1 inch chunks.
While most raw fruit and vegetables work, there are still some types to avoid, including: citrus (limes, lemons, oranges, etc.), onions, garlic, shallots, and fragrant herbs. A good rule of thumb is that if the produce is highly fragrant, your worms probably won’t like it. Worms also like brown material like old leaves and undyed paper products, so just like when you made your bedding, you may want to wet some paper and add it during feedings (e.g. 25% paper/cardboard/browned leaves, 75% fruit/vegetables works well; but some even do up to 75% brown material).
How much and how often do you feed your worms: Start with a handful every couple days, then move to about two cups/week.
The amount of feed depends on how many worms you have. When you’re just starting out, you may want to wait a day or two for your new worms to acclimate, and then feed them about a handful of produce every week, but this is iterative. It’s important to check on your worms every day or so at the beginning. If your worms eat all their food within a couple days, then give them another handful. Overtime, I’ve found that my worms like weekly feedings of about 2 cups of produce.
Once you work your way up to weekly feedings, I like to keep a container in the fridge for preserving my fruit and vegetable scraps throughout the week. An old food packaging container, like for mixed greens, works well. Beware of keeping your food scraps in the freezer, as worms are sensitive to big temperature changes and adding frozen food to your bin could cause harm.
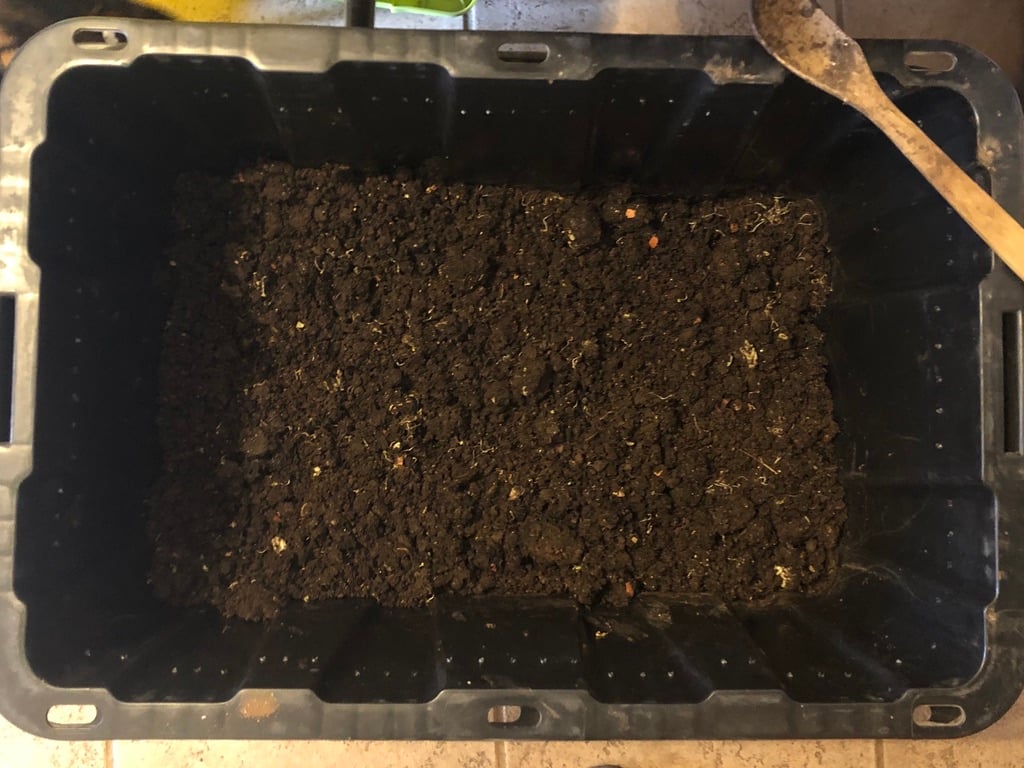
How to feed your worms: Roll up your sleeves and mix the food in thoroughly.
Open the worm bin lid and dump in your fruit and vegetable waste. Remember, no sauce, seasonings or external oils should be added to any of the food you put in the worm bin. You then want to thoroughly mix in the food. You can use a wooden spoon for this but I find using your hands is more effective. Once you add in the food, roll up your sleeves and give it a good mix, then gently pad down the top so that the top surface layer is even, but don’t use a lot of pressure as you want to keep the soil nice and loose.
How to prevent flies: Add a layer of dirt after feeding to cover exposed food.
Your worm bin should not emit any odor or attract nuisance bugs. However, flies can be attracted to your worm bin but if vegetable or fruit pieces are left exposed on the soil surface (even with the lid on). This is an easy fix. If you have fruit and vegetable pieces exposed, take a cup of dirt (with no fertilizers or additives!) and sprinkle over the exposed fruit and vegetables. This will prevent flies from swarming your bin and can help your worms’ soil maintain its target moisture. If you notice your soil is too dry, use a spray bottle to add some water to get the soil back to a spongy consistency.
Where to keep the worm bin: Inside or outside, just out of direct sun and away from areas that experience extreme temperature shifts.
Red wigglers are very resilient, but they still need to be protected from extreme shifts in temperature. Please do not keep your worm bin in direct sunlight (you could bake them!), and if you choose to keep them outside, just be sure to bring them inside during the colder months. We keep ours under a table in the laundry room during Winter and Spring.
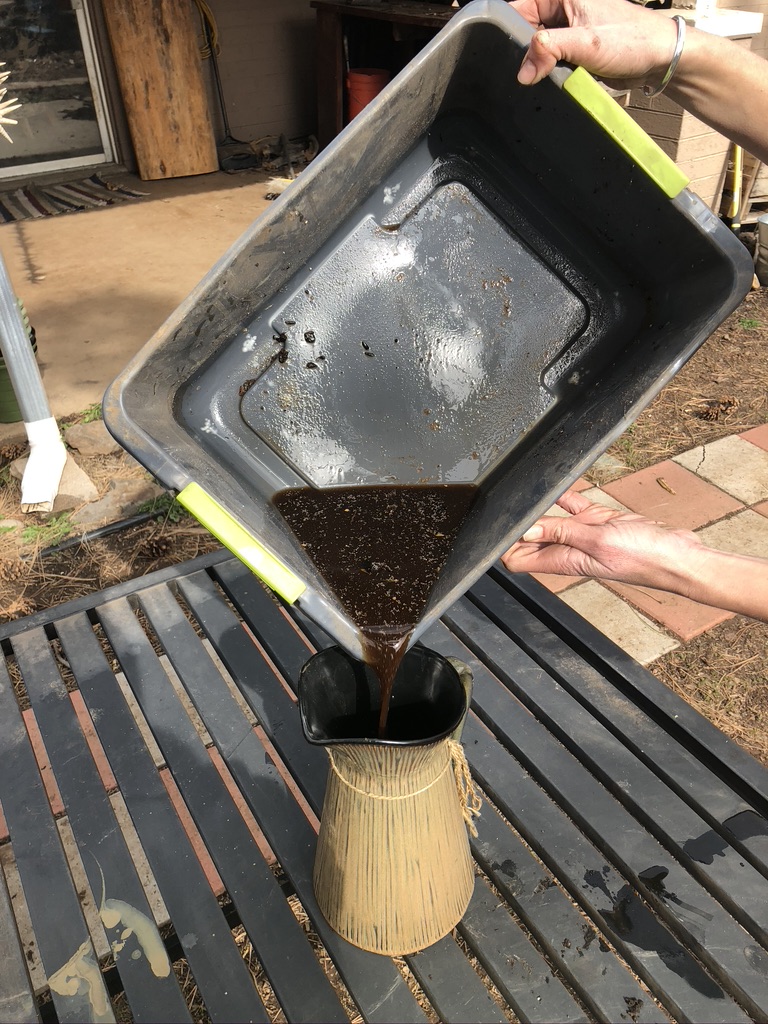
How to use worm tea: Create a 50:50 worm tea and water mix, then water your plants as usual.
Overtime, your worms will excrete a nutritious liquid referred to as “worm tea” or “worm castings”. This liquid should drain through the bottom holes in the bin, and be captured by your outer bin. Depending on your local humidity, you may see more worm tea each week but it could also take a couple months. After about two months, if you don’t see any worm tea in the bottom bin (you need to pick up the inner bin to check), make sure that the liquid isn’t being captured in the top bin. Worms can drown so you really want to ensure you have the right balance of moisture. Proper stirring should prevent any liquid build up. If you do see liquid, you may need to add more holes to the bottom of your bin and increase your mixing effort after each feeding. To use the tea, simply mix it 50:50 with water and water your plants as usual. I like to do this monthly.
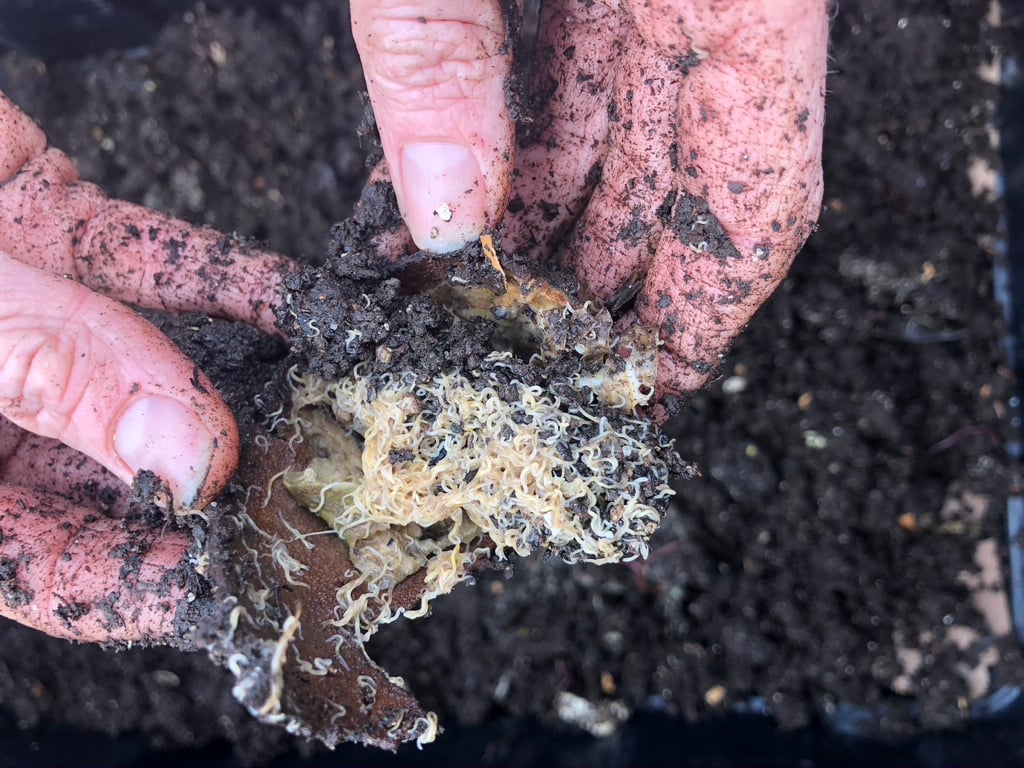
There are tiny white worms in my soil; should I throw it away? No way, those are baby worms. Congratulations!
Reg wigglers double in population size about every three months. That’s right, exponential growth, meaning soon you’ll have thousands of worms to turn your food waste into nutrient rich soil. You may even get to a point where you have too many worms and want to share with your neighbors (highly recommended) or increase the size of your worm bin. Three years ago I started with 600 worms. I’ve since made or helped friends make nearly 10 worm bins from that initial population. So not only will starting a worm bin help you divert your food waste, it could help dozens of your friends divert food waste as well, resulting in a powerful collective benefit to your neighborhood and the planet.
Learn more about other ways to make your home and garden more ocean friendly, through Surfrider’s Ocean Friendly Gardens program.
Have other composting questions or need help with troubleshooting? Please feel free to email Katie Day at kday@surfrider.org.
 As Senior Manager of Science and Policy, Katie leads Surfrider's federal strategy and advocacy priorities and ensures that campaigns of all levels are thoughtfully planned and informed by the most recent and accurate scientific literature. She holds a master's degree in Environmental Science and Management with a background in life cycle analysis, climate policy, hydrogeomorphology, water quality, and habitat management.